
Electronic invoice
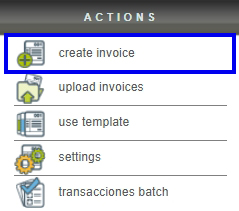
To begin creating your invoice, first go to the "Invoicing" module and click on the "Create invoice" button located in the "Actions" menu.

Create invoice
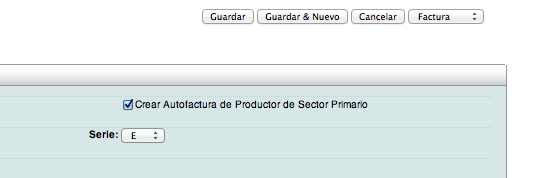
The form where you must enter the invoice information will then appear. To create an invoice for the Primary Sector, you must enable the “Crear Autofactura de Productor de Sector Primario” checkbox located above the invoice series.
When you select the checkbox, you will notice that the system changes, so your company name will be the recipient of the invoice.
E-document series
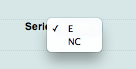
You must select the series you wish to use if you have multiple series assigned to different types of digital tax e-documents.
The invoicing series define the tax effect of each e-document. Typically, the "E" series is used for creating invoices (Income) and the "NC" series for creating credit notes (Expenses). If you require a different name for your series or a different tax effect, please contact the Support team at Solución Factible®.
Automatic e-document sending
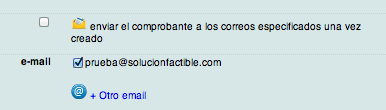
You can also automatically send your e-document once it's created if you added an email account when registering your supplier. To do this, simply select the sending box. You can also add more email accounts by selecting the "Otro email" button.
Date of issue
The invoice issuance date will automatically be the date the invoice is being created.
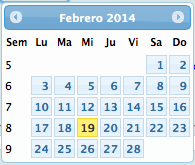
The following option allows you to choose a date other than the current date for your electronic invoice, provided you comply with the applicable tax regulations. This means you can create an invoice with a date up to 72 hours in the past. For example, if the current date is July 1, 2026, the latest possible date for the invoice will be July 2, 2026. This regulation also states that an invoice cannot be issued with a future date.
To complete this process, simply click on the small calendar located next to the invoice date and select your preferred date.
Invoicing currency
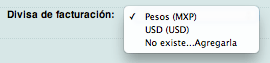
The currency on your e-document will be "Pesos" by default; however, you can choose any other currency. It is important to note that whenever you choose a currency other than pesos, you must enter the exchange rate for that currency on your e-document, as per official regulations.
Method of payment
This section defines how the payment for the e-document will be made. By default, all e-documents are made in the "Pago en una sola exhibición” or (Payment in a single installment) mode. If you issue e-documents in partial payments, you must select the "Pago en parcialidades" or (Payment in installments) option.

Payment method
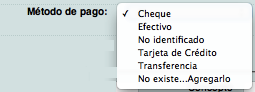
This section defines the method by which the payment for the voucher will be made, which by default will be "No identificado" or Unidentified, however you can define said method, it is important to mention that when the method is related to a bank account (Transfer, Check, Credit/Debit Card), you must define at least the last 4 digits of the account from which the payment will be made, that is, your client's account.
 |
 |
Products to be invoiced
Next, you must enter the products you want for the invoice in question. In this section, you can register the product in two different ways: “Modo Catálogo” (Catalog Mode) or “Modo Manual” (Manual Mode). By default, "Modo Catálogo" is activated in your invoicing; however, you can configure this section if you wish. Do not hesitate to contact the Support department at Solución Factible®.
To add products to the catalog, click on the "Modo Catálogo" button and then enter the code or name of your product to extract it from the database you previously uploaded. Choose the quantity of products and, if desired, select your preferred "Lista de Precios". Once all the information for your product has been added, click on the "Agregar" button.

Clicking the agregar (add) button will display the information at the bottom of the screen. To add more products, follow the process described above. If adding a product manually, you must specify the product name, quantity, and price.
Below you will find a summary of the added products and invoice totals. If you wish to remove any product from this list, simply click on the icon. 

Adjustment

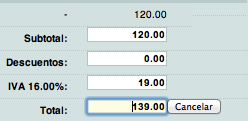
It's important to clarify that when you adjust the quantities, the billing system does NOT perform any calculations, and you become responsible for performing the arithmetic operations to ensure they match the desired total. For this reason, the system asks you to confirm the quantity adjustment.

Make the necessary modifications by entering the amounts in each section; if you wish to cancel the adjustment, simply click on the "Cancelar" button.
Invoice notes
The "Notas de factura" field is optional and is reflected in the printed representation (PDF) of your electronic invoice. This section has no character limit, so you can enter any special information you wish to add.

Save the e-document
When finished, click on the "Guardar" button located at the bottom of the screen. It is important to make sure that the information entered is correct, as it cannot be edited once generated.

Please confirm that the information is correct by clicking the “Aceptar” button.
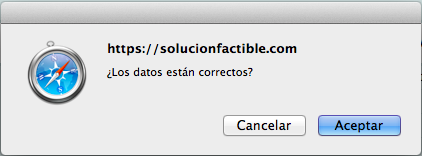
Important: when saving the e-document, a special query is sent to the SAT (Mexican Tax Administration Service) to determine whether the e-document can be created. Depending on the response, the primary sector invoice will be created or not. If you receive a negative response, you must first ensure that your producer is registered with the SAT and that you are authorized to issue primary sector e-documents.

There are requirements that must be met before generating an e-document for the primary sector; please consult this information. Here.
Main receipt screen
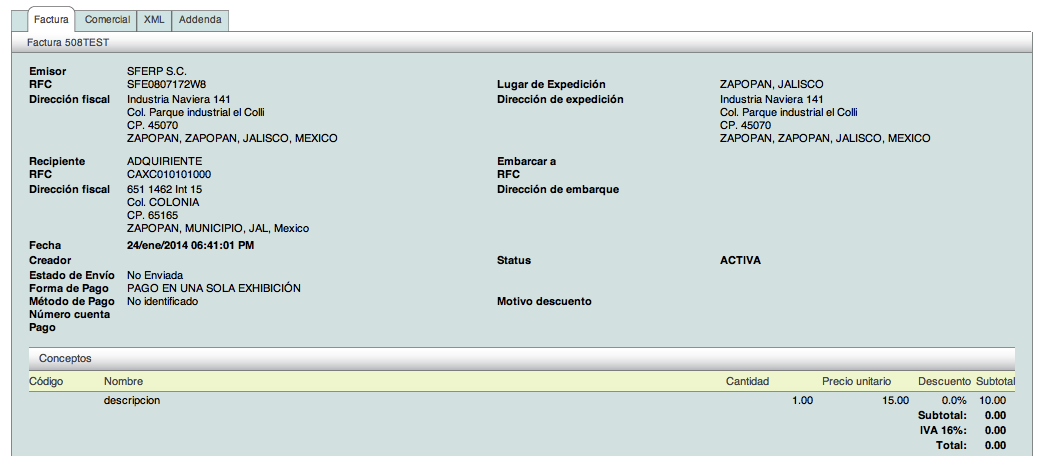
Once saved, you will be able to view your invoice information. You can also perform various actions with the generated receipt.
This summary includes information about the e-document's creation (Fecha / Creador / Envío / Forma de pago) and its status (Activa / Cancelada).
Cloning an invoice

The "Clonar" option allows you to create an exact copy of a previously generated receipt. This is very useful when you need to invoice your supplier for the same products you previously invoiced on another receipt. In just a few seconds, you can generate an electronic invoice.
It's worth noting that although cloning the receipt automatically selects the supplier and products to be invoiced, you can add or edit the information on the new invoice to suit your needs.
