Tags: Invoicing, make, e-documents
Lesson ID-103.2
Updated to:
26/01/2026
Lesson objective
To ensure that users understand how to generate a e-document quickly and easily, with a general understanding of the minimum requirements.
Create an e-document
The issuance or generation of an electronic receipt is a process by which the taxpayer creates a digital file containing the specific characteristics defined by the Tax Administration Service (SAT). When certified by an Authorized Digital Tax Receipt Certification Provider (PAC), it becomes a legally valid document.
To generate an e-document you must enter the system as indicated in the lesson ID-101.1
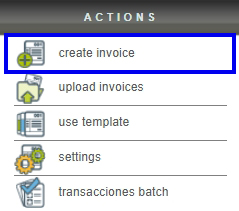
Enter the module "Invoicing".

Click the "Create invoice" button located in the "Actions" menu.
The form will appear where you must enter the electronic receipt information. Below, we'll briefly review each of its sections.
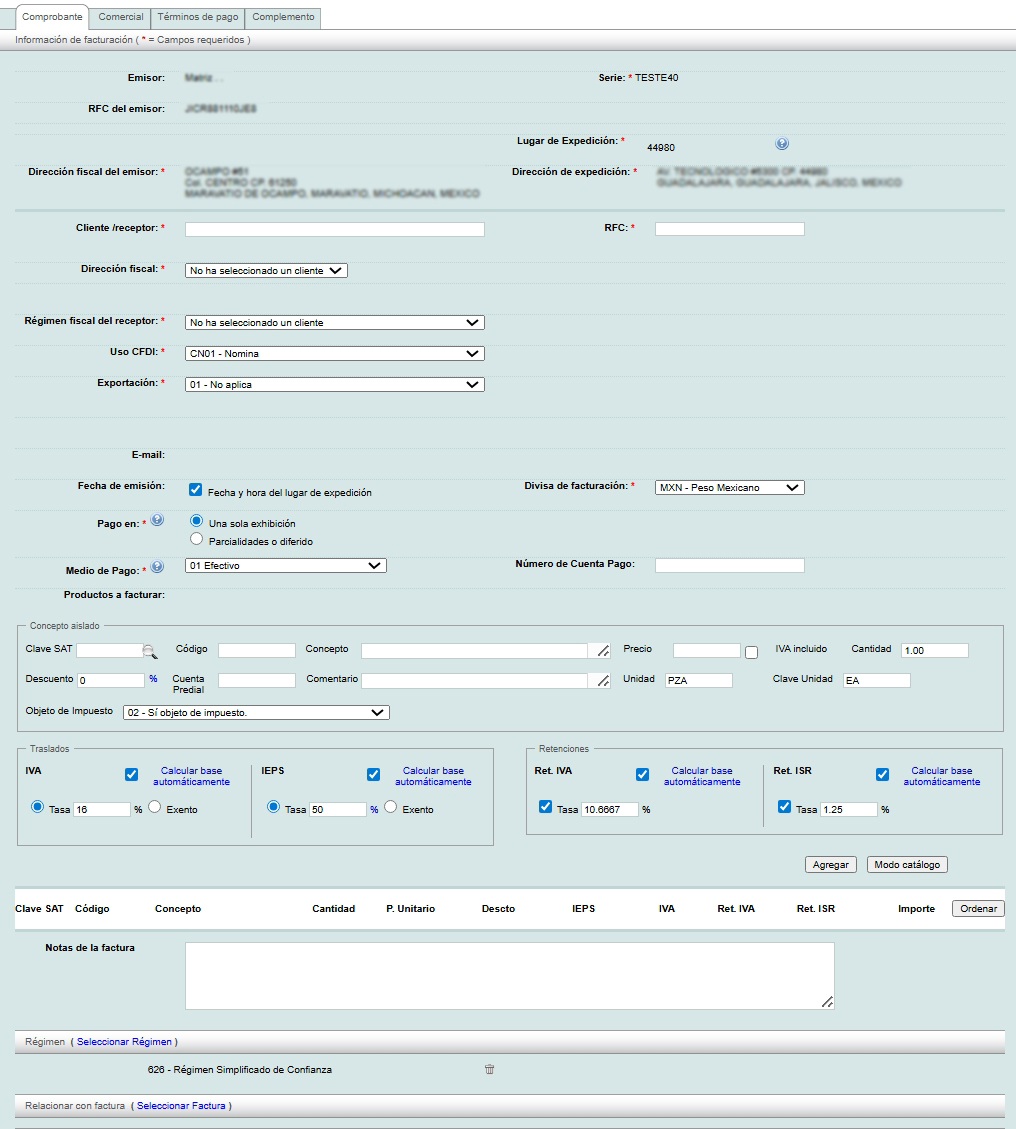
Receipt series
Select the "Series" you want to use according to the tax effect you want for your receipt. If you have questions regarding this topic, consult the lesson ID-103.1

Cliente "Receptor"
Enter the name or RFC of the client receiving the receipt. As you enter the data, a list of the data pre-loaded in the database will be displayed.
If you have not yet registered the client, please refer to the lesson ID-104.1

When you select the client, the system will fill in all the information.

Invoicing information
- Uso CFDI: (Mandatory) Use of this CFDI before the SAT, the options are specified in the c_UsoCFDI del SAT catalog.
- e-mail: Email of the recipient of this CFDI. Once this receipt is created, you can send it by email to the email address you specify.
- Fecha de emisión: (Mandatory) Fecha y hora del lugar de expedición field is selected by default, if is not filled out, the Serie with which the invoice will be issued (branch location) will be used as a reference. If you need to create an e-document with a different date, uncheck the box. The fields for adding the desired date and time will be displayed. If the date is before the current date, it cannot be less than 72 hours. If you need a date after the current date, it cannot be more than 1 hour and 5 minutes in advance.
- Pago en:(Mandatory) In 3.3 represents "método de pago" in 3.2 "forma de pago". If the payment is in installments the Medio de Pago must be "99 Por definir".
- Medio de Pago: (Mandatory) In 3.3 represents "forma de pago" in 3.2 "método de pago". The options are those specified in the SAT´s c_FormaPago del SAT catalog.
- Divisa de facturación: (Mandatory) If the currency is other than MXN (mexican pesos) the Tipo de cambio (Exchange rate) must be specified.
- Tipo de cambio: Exchange rate against Mexican pesos when the currency is other than MXN.
- Número de Cuenta Pago: Account to which payment for this e-document will be made.


Products
Next, you must enter the products/services you wish to invoice.
If you are in "Modo catálogo" filling out the "Código" or "Nombre" fields will display the products/services already saved in the system.
If you are in Modo Manual" you can quickly search for product/service codes by clicking on the magnifying glass. For more information, see the lesson ID-105.3.
See lesson ID-103.15 to learn what mode the system is in.
You need to specify at least the product/service, its code, price, quantity, unit and unit key to be able to add it.
Once all the information has been added, click on the "Agregar" button.

When you click the "Agregar" button, the information will be displayed at the bottom of the screen. If you want to add more products, follow the process described above.
A summary of the added products and invoice totals will be displayed below. You'll find an "Ajuste" button next to the invoice total. This option allows you to manually edit the invoice amounts, but please note that this is no longer supported by the SAT (Tax Administration Service). Therefore, if you attempt to create the invoice after editing the amounts calculated by the system, the invoice will not be created.

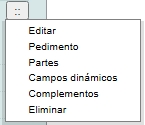
If you want to edit, delete or add any extra information to the product/service on this list, click on the icon.
Invoice notes
The "Notas de factura" field is optional and appears in the printed PDF of your electronic invoice. This section has no character limit, so you can enter any special information you want to provide to your customers.

Save the e-document
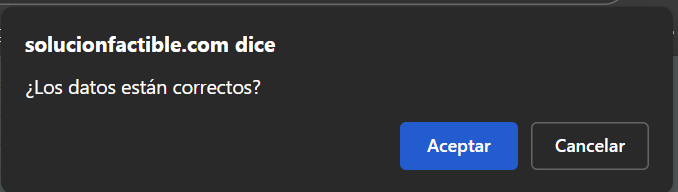
When you're finished, click the "Guardar" button at the bottom of the screen. It's important to make sure the information you entered is correct, as once the receipt is generated, it can no longer be edited.

Confirm that the information is correct by clicking the "Aceptar" button.
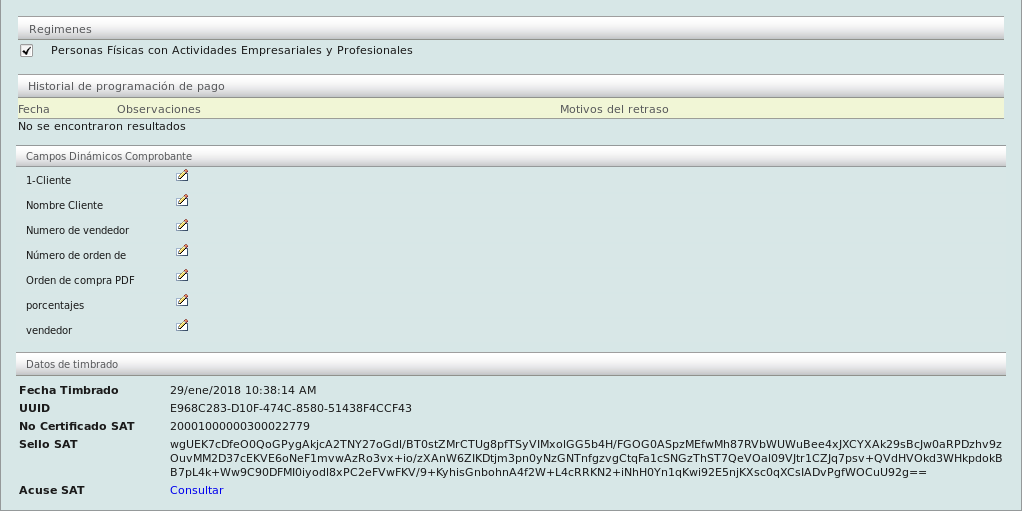
Main screen of the e-document
Once saved, you can view the information and perform various actions with the generated e-document.
In this summary you will find information about creating the e-document (Fecha / Creador / Envío / Forma de pago) and its status (Activa / Cancelada).

To download your electronic e-document and/or send it to your client, see the lesson ID-103.4
Lessons of interest
- Rules of arithmetic for an invoice
- ID-103.1 - Income e-documents, Expense, Transfer, Payments and Payroll
- ID-103.2.1 - Clone an e-document
- ID-103.2.3 - Create a global e-document for partial payments
- ID-103.2.4 - Create an e-document with a specific tax base and tax type
- ID-103.2.5 - Create an e-document with IEPS
- ID-103.8 - Create an e-document without IVA
- ID-103.9 - Create a zero-rate IVA e-document
- ID-103.10 - Create an e-document with withholdings
- ID-103.11 - Create an e-document with a complement
- ID-103.12 - Create and use invoice templates
- ID-103.16 - Create an addendum to an existing invoice
